Why fork over the big bucks on gourmet baby greens at the grocery store when you can grow your own?
It’s finally spring, and even though it’s still too cold to start gardening outdoors in many locales, it’s the perfect time to grow baby greens indoors. Starting baby greens from seed is really easy and there are so many wonderful, nutritious options such as spinach, kale, swiss chard, mesclun lettuce, mizuna, tatsoi, arugula, machae and more. Several basic varieties are readily available on the seed racks at your local supermarket, garden center, home improvement shop and hardware store. Dollar General also has a decent selection of really inexpensive seeds. Conversely, if you’re looking for specialty seeds such as heirloom varieties, micro green blends or Asian greens, online seed companies such as Baker Creek, Seed Saver’s Exchange, Johnny’s and Territorial offer a wide array of unique varieties to choose from.
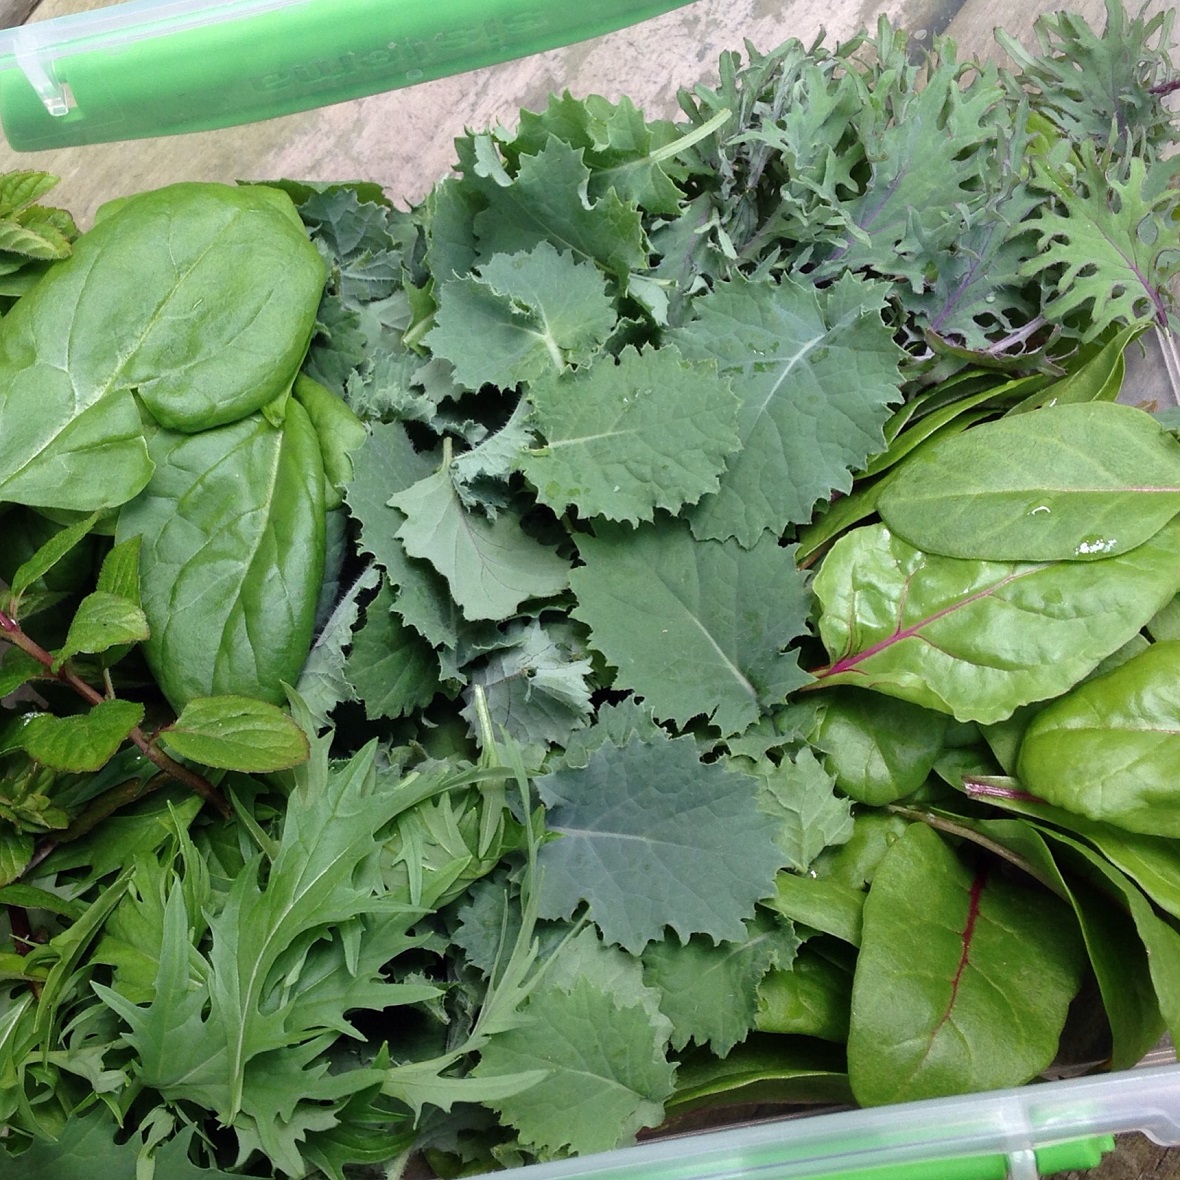
Here are just a few examples of the baby greens that I grew last spring in my sun room…spinach, mizuna, swiss chard, blue curled kale and red winter kale along with some mint. They were fab, healthy and and nourishing in everything from soups, salads and stir fries to sandwiches, wraps and sauces.
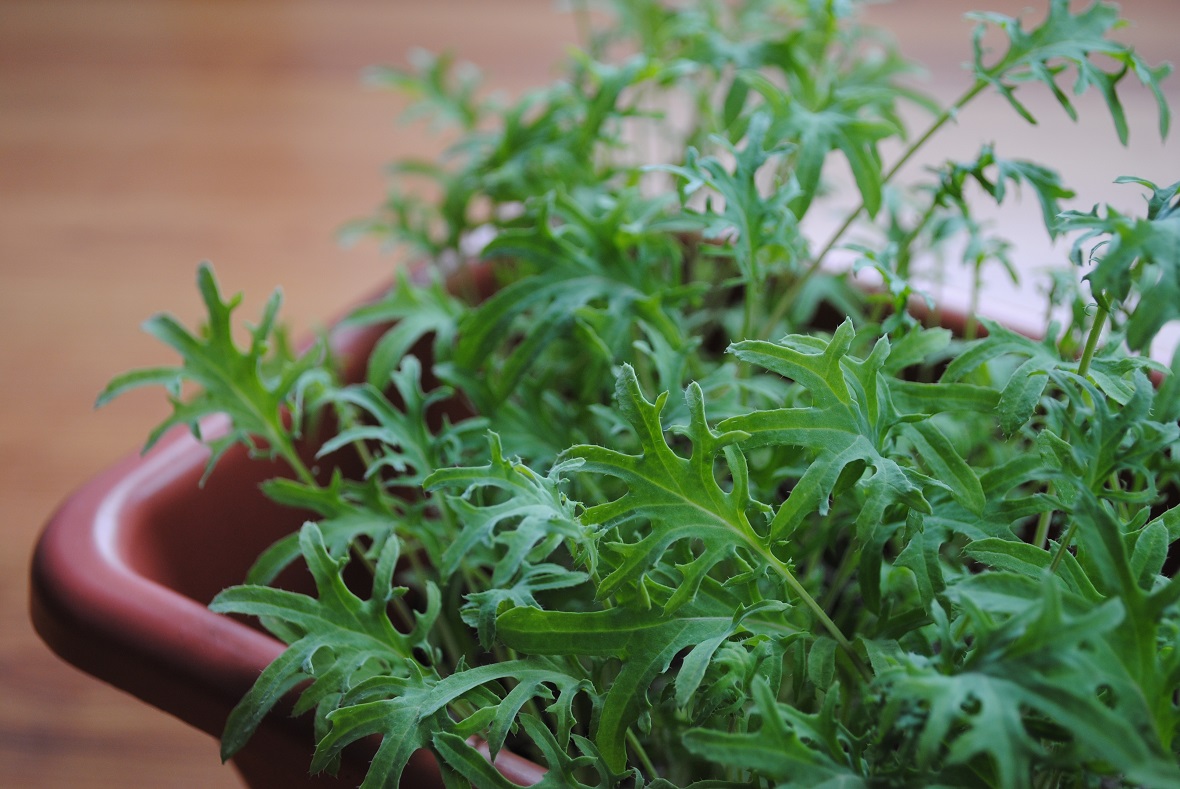
This season I’ve already started arugula, tatsoi, mizuna, red winter kale, Italian salad blend, pink flamingo chard, canary yellow swiss chard and oriole orange swiss chard. Later this week I’ll get the spinach, mustard greens and red mizuna started. This baby kale is just about ready to harvested.
Ready to get started growing your own super healthy, wholesome baby greens and micro greens? 🙂
What You’ll Need:
- Seeds
- Small Planters, plastic window boxes or seed starting trays
- Commercial Seed Starting Mix
- A Small watering can
- A Tabletop Grow Lamp or grow lights (optional but highly recommended, around $30-50)
- A Seedling heat mat (optional, around $20)
- Scissors for harvesting
How To Grow Baby Greens:
Choose a good quality bag of seed starting mix that includes plant food. These are available in both standard and organic varieties.
Fill your planters or seedling trays 3/4 of the way to the top with seed starting mix. Distribute the seeds as evenly as possible and then put a thin layer of seed starting mix over them. It doesn’t matter if there seem to be many seeds in one small container since they’re only being grown as baby greens, not the full sized version. Water them lightly and place the planters a warm, dry place. Seedling heat mats are really helpful for aiding in germination, but certainly aren’t imperative. Saran wrap can be placed over the planters instead to help retain heat. Just be sure to remove the saran wrap as soon as you start seeing germination.
Depending on what you’re growing, the seeds should start germinating in just a few days to a week. Once they do, they will need a good source of light. A very sunny windowsill will do the trick, as will a tabletop grow light or a combination of both. I keep my plants in a south facing sun room and also use a Hydrofarm two foot jump start grow light for about six to seven hours per day.
Check your greens daily to ensure that the soil is kept moist but not soggy. Water them lightly as needed, taking care not to over water, as excessive moisture can cause root rot. If they’re in a sunny window remember to rotate the planter so that the seedlings don’t grow lanky reaching towards the light.
In several weeks when the greens reach about 3 to 4 inches in height, begin harvesting them. Simply cut them with scissors, leaving about an inch to an inch and a half above the soil. The plants should continue to regrow at least once more before dying back so you’ll likely get a second harvest in around four to six more weeks. If you continually plant new seeds every week or so, you’ll have a constant harvest of fresh greens to enjoy all season. 🙂
How To Grow Micro greens:
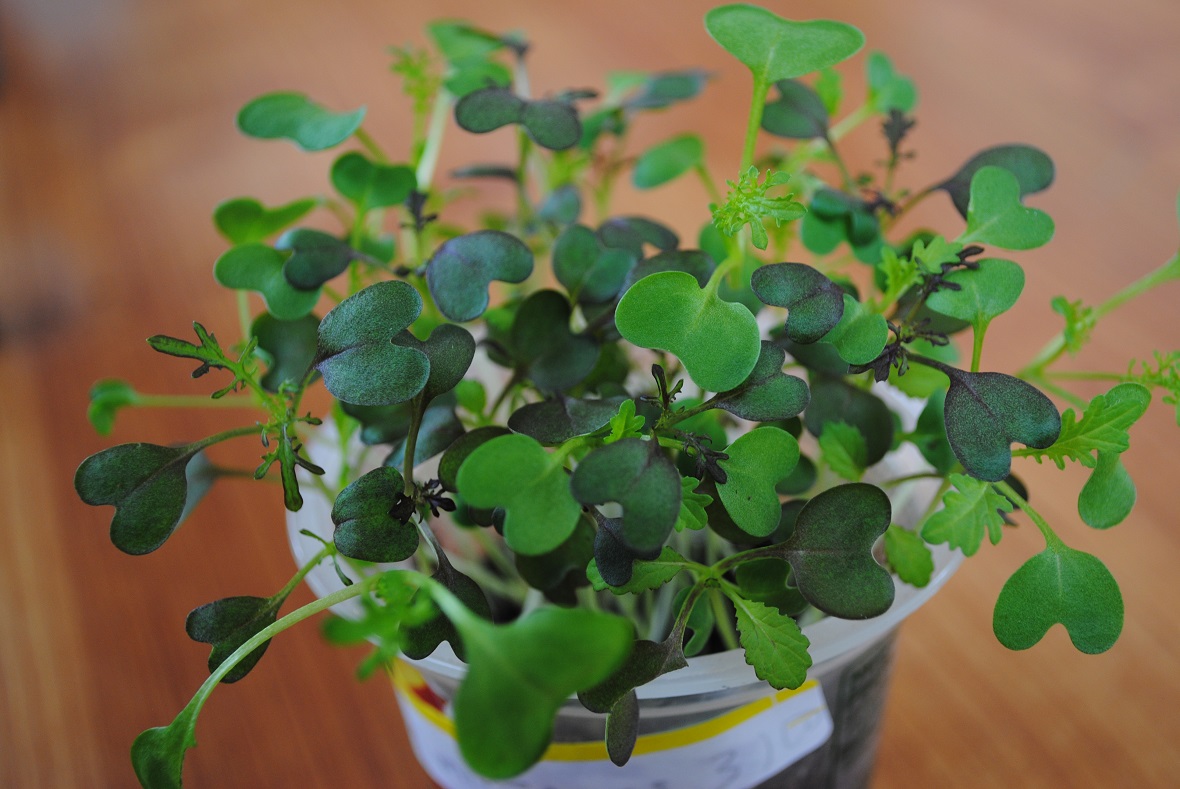
Micro greens are diverse and their flavors vary from mild to spicy and peppery. I would suggest starting with a micro green blend so that you can enjoy a multitude of flavors and leaf shapes. You can also order micro green seeds by individual variety if you’d prefer.
Refer to the packaging on the seed packet for any specialized growing instructions, but generally speaking, micro greens are grown in much the same way as baby greens. The difference is, micro greens are harvested as soon as the seedling has its first true leaves, which is generally within three to four weeks of planting. They can be grown in planters, or if you just want to grow a few at a time, use a small container or clean yogurt cup.
When it’s time to harvest, cut the micro green stems about an inch or so above the soil. Unlike baby greens, micro greens are not intended to regenerate or provide a second harvest, so simply discard the roots and stems after cutting.
Micro greens will keep in the refrigerator for a few days, but I’ve found that they are truly at their best and most flavorful when they’re cut fresh and and used straight away.
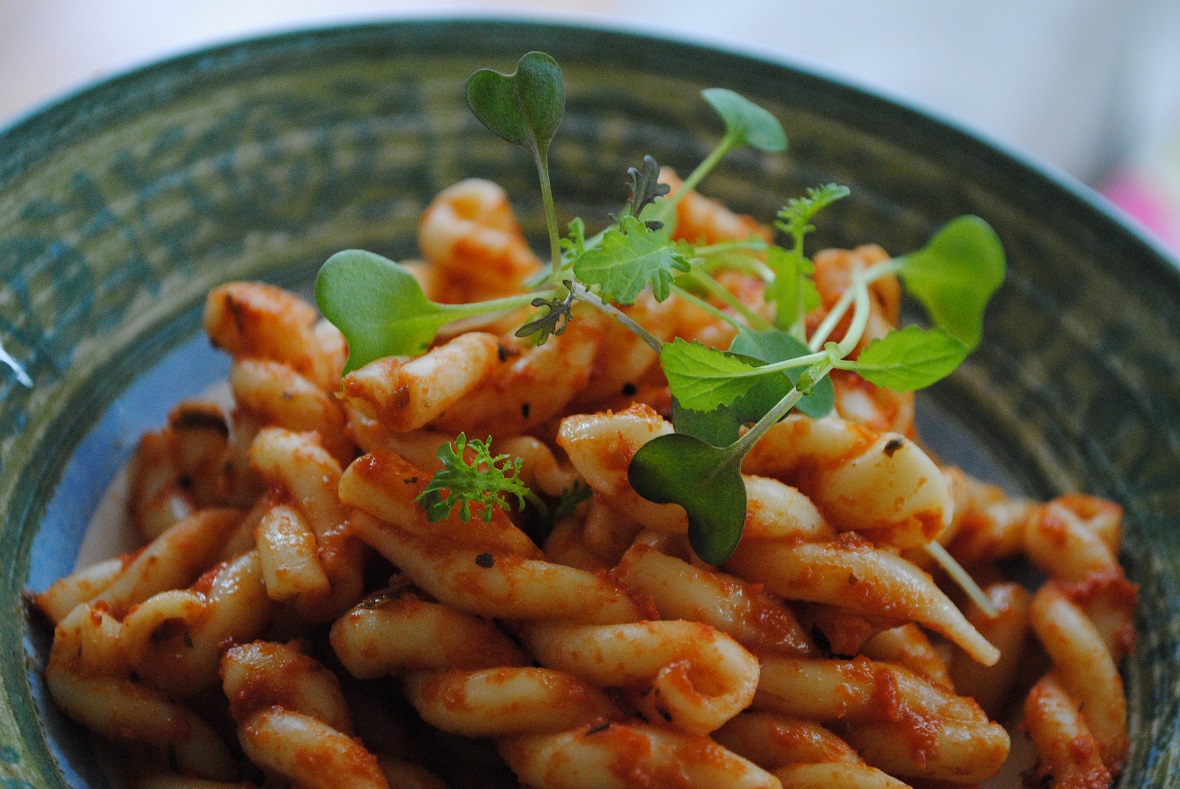
Use micro greens as a beautiful garnish for meals or add them to salads, sandwiches, wraps and green smoothies for nutrition, visual appeal and added flavor.